Showing posts with label Quilts. Show all posts

Friday, January 27, 2012

The Very Hungry Caterpillar crib teething pads

 For the nursery, I made these last week.  They are teething pads for the crib.  Genius, I know.  Thank you pinterest!  Since we were blessed to be given a brand-new, very expensive crib when we were expecting our first child, we see no reason to buy a new one.  It is amazingly sturdy and has absolutely lived up to it's cost.  Being through three kids, however, has taken some unsightly tolls on it...Yeah, for some reason babies like to chew on the railing as you can see in the picture below.  Yeah, these "teething" marks go around the entire crib.  I decided that since we will be going all out for this nursery, we couldn't have a gigantic eyesore distracting from it all. And in case anyone is wondering why we are going all out for this particular nursery, it has nothing to do with the fact that we are finally having a girl.  No, it has everything to do with the fact that we can actually afford to now.  That, coupled with the fact that this may very likely be our last baby, has been the pushing factor in our decision to go big or go home!
 I decided that since these pads will be used to protect the crib from teething babies, it would be funny to put food fabric as the center.  Now our little girl can suck on imaginary watermelons, cheese, ice-cream...You get the idea.  My husband thought it was pretty cute.  For the borders, I sewed 3-1/2 strips of fabric together and then cut them down to the proper measurements needed to wrap around the crib.

I have seen these done two ways.  One with buttons and one with ties.  I think the buttons look cuter, so that's what I did.  If you're making some and want to use buttons, make sure you sew the fabric scraps that have the button holes in them on with the binding, not after you bind the pads.  Also, make sure you place the button hole scraps in the right places, so that the crib railings don't block them from wraping around to the button.  You'll have to make your own button holes sewn onto the scraps if this is what you choose to do.  The measurements all depend upon the size of your crib and the thickness you want.  Always remember to leave a seam allowance of at least 1/4" when cutting fabric for sewing.  I quilted the pads together to give them a more professional feel.  Alan was super impressed with the results!  I think they turned out dang cute!  If you want to make your own, go here for the tutorial.  You'll notice I did some things differently from the original posting, so feel free to ask any quesitons if you have any!


Saturday, January 14, 2012

The Very Hungry Caterpillar

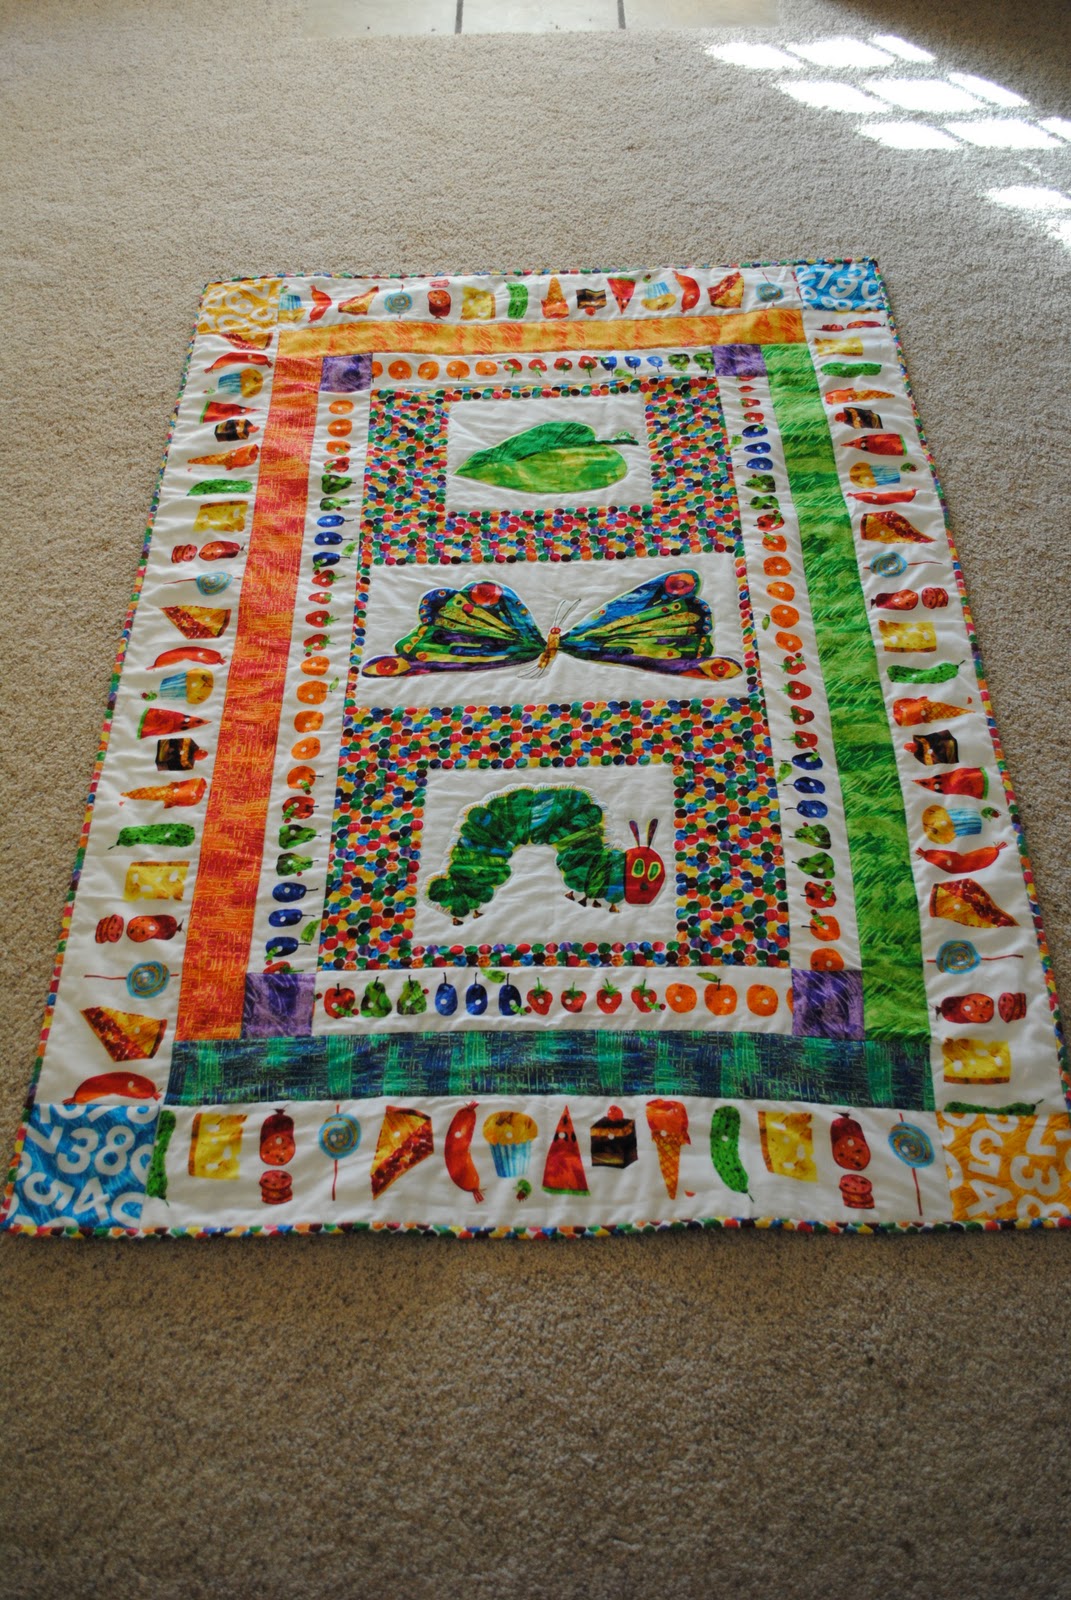
Quilted this beauty on my sewing machine for the very first time!!! (For details on preparing a blanket for machine quilting, go here) All the other quilts I've made in the past I've used a frame and I have either tied the quilt or hand quilted, so accomplishing this is pretty exciting for me.  I do, however, feel partially guilty calling this a quilt, because it was so easy to make.  No real piecing involved, just nice, long strips sewn together with a big fat panel in the center.  But easy is what I need right now.  Trying to get a nursery all put together on my own, while raising three small children and being over 7 months pregnant gets pretty exhausting.  I loved learning how to quilt on my machine, and I look forward to future projects.  Who needs a Longarm!?  Actually, I would really like to own one someday, but I don't know if that will ever happen (they are dang expensive).  So for now, I will stick with machine quilting.
To quilt this particular quilt, I did both freelance quilting and stitching in the ditch.  I did freelance on the center panel so that I could quilt around all the dots and big pictures, and the rest was done with straight lines (in the ditch).  I think it was a good introduction for my first undertaking on the machine.
This is the back of the quilt.  So cute right!?
For the binding, I had to blind stich the back. For those of you who are not familiar with quilting, blind stitching a quilt binding is done by hand.  Trust me, I tried to cheat.  I figured that if I used clear thread to finish it off while sewing with the machine it would barely be noticeable...Yeah, I had to unpick that mess.  I'm glad I did it the right way.  It looks much nicer, and gives me a greater sense of accomplishment.  I have a book I use to guide me through my quilting questions, but it left out some details that I needed, like how to miter corners and what the heck blind stiching is!  So I got online and looked it up myself and here is an awesome tutorial I found: click here

Preparing a blanket for machine quilting

What you'll need:
Basting pins (giant safety pins)
Tape that is not super sticky (you don't want it to tear your fabric when removing it. (I used painters tape)
Basting Spray (optional)

My grandmother told me that the secret to a good machine quilting is basting spray.  I bought some, but ended up not using it.  My fabric naturally stuck very tightly together.  It was strange, but it worked for me.  Truns out pregnant women shouldn't use the spray anyway! (If you buy it and want to use it just follow the instructions on the can)
 Find a flat, clean surface to lay your backing on.  Preferably anything NON-carpet related.  You could pin the carpet in with the quilt rendering all your efforts to remove it from the floor useless.  Lay the batting on the floor, right side down and tape one side.
 Then tape the opposite side.
 Repeat with the top and bottom.
 Finally, tape the corners.
Next you'll lay the batting over the top of the backing.
 Followed by the quilt top.
Start pinning in the center working your way out to the sides.  I don't know if how I did it was correct, but it worked for me.  I started at the very center and pinned all the way up to the top, then all the way down to the bottom in one straight line.
 Next I started, again at the center, and pinned out to the sides in a T shape.  I proceeded pinning all the remaining rows in T shapes till the pinning was finished.
 Every pin should be place approx. 2-3" apart.  You should be able to lay your hand down on the quilt and feel two pins.  Once you're satisfied with the pinning, remove the tape from the quilt and roll up the sides of the quilt.  Your quilt is now ready for the machine.
 Make sure you change your thread accordingly (bobbin thread matching the quilt bottom, proper foot on machine for quilting choice, etc)  Also, change your stich length to 2.5, start quilting in the center and go crazy!!!  Wait, not that crazy...One last helpful hint: When maching quilting, NEVER turn your fabric.  You ONLY quilt forward, backward and side to side.  For any details I may have left out or questions you have go here:
http://www.generations-quilt-patterns.com/machine-quilting-a-beginner-quilting-project.html

Tuesday, December 27, 2011

Mile a minute baby quilt

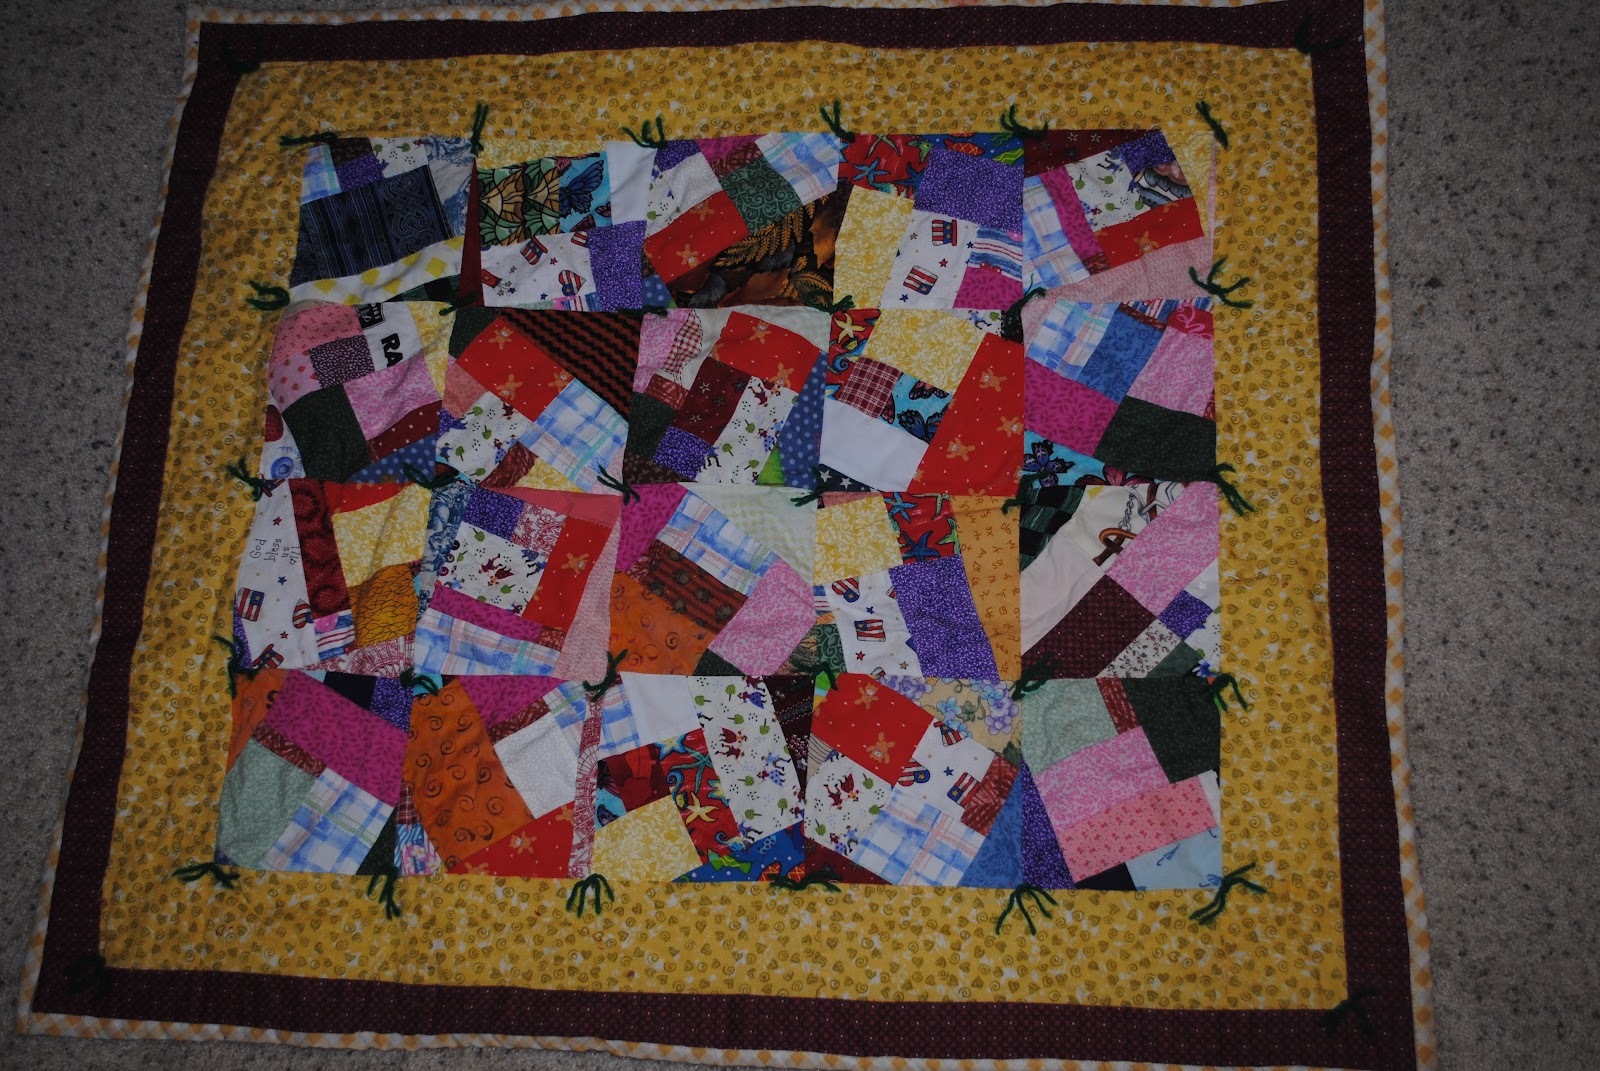
This is the very first quilt I ever made!  I made it years ago for my first born.  He is now 4-1/2 years old, and I've made quite a few more quilts (I will post them later).  I can honestly say that I didn't really have any idea what the heck I was doing.  I didn't measure it right, I sewed the borders on before I tied it etc. etc.  Good thing I made it so small, otherwise it would have been a real disaster!  My grandmother showed me how to make a mile a minute quilt and this was the result.  It was so special and so fun to spend that time with her.  My husband and I were extremely poor during that time of our marriage, so my grandmother supplied me with her scraps, thread, an Elgin sewing machine, and measuring/cutting tools (she actually gave me the machine years before I was married, but every time I played with it, nothing but disaster occured!).  When I was done working with my grandmother, my mother-in-law helped me finish it.  She also supplied me with scrap fabric and she let me borrow one of her many Bernina sewing machines (true love right there!). I'm so grateful to have such awesome and crafty women in my life so I'm not left to figure it all out on my own.  I wasn't going to post this because I didn't want to take the time out to explain how to construct a mile a minute quilt, but while searching the internet, I was lucky enough to come across this:
http://patchworkpie.blogspot.com/2008/06/mile-minute-quilt.html  She gives awesome directions on how to make one. It is the perfect craft when you have tons of fabric scraps that you don't know what to do with!