
Wednesday, February 15, 2012
Valentine Mantel 2011
Tuesday, February 14, 2012
Fabric Boxes


Topiary

http://brandyscrafts.blogspot.com/2011/01/simple-valentines-day-topiary.html
Valentines Door Wreath


Sunday, February 5, 2012

"Every Love Story..." Picture Frame

I went to the dollar store and bought an 11"x14" picture frame. Removed the glass and cardboard backing from the frame and proceeded to paint the frame with black acrylic paint. I used my cameo to print off the vinyl lettering in a font I found endearing (LD Petticoat Black) and then made sure to clean the glass really good. After the glass was completely dry, I carefully placed the vinyl in the desired location and applied it. Be very careful when placing vinyl on glass, it sticks like crazy! For the back ground, I used the cardboard backing that came with the picture frame and just taped patterned paper of my choice to it. I used three different patterned sheets and layered them. Once the frame is finished drying, you can put the frame back together. On a side note, once the frame is put back together, the vinyl lettering should be on the OUTSIDE of the picture. You should be able to touch it with your hand. I left a gap between the phrases so that I could add some embelishments. I wrapped pink crochet thread around the entire frame, taped it to the back and then taped a little heart to the thread on the left hand side. I LOVE how it turned out. So does the hubby.

Saturday, February 4, 2012
Burlap Banner


Candles

Tree of Love
Saw an idea that sparked some creativity and got my brain going. Follow this link to see what the tree looked like that caught my interest. Here is what I came up with:


Yes, I know we're missing Arlin in the tree and I want to add a pic of my belly also, but I'm too pregnant at the moment to want to load up all three boys and take them to Walmart just to print up a couple pictures. Maybe if Alan gets home early one of these days...
I used my Cameo to print off all the cute hearts and what not, sawed a branch off of my tree, spray painted some clothes pins red and white, used red hots as the base and tied red and pink ribbon on various branches. Alan likes it and so do I. I'm thinking it will stay and I will just switch things up according to the special holiday that will be taking place that month.
Felt Polka Dot Curtains

Made these to coordinate with the nursery theme. I have The Very Hungry Caterpillar fabric that has tons of colorful polka dots all over it, so I used that as my inspiration for these curtains. I had left over curtains from an Ikea trip my family made years ago, so I used those as the base and just sewed circles on them that I cut out of felt. I made sure the colors I used matched the polka dot fabric. Also, I used clear thread to sew the circles on as a way of saving time. That way I didn't have to change the thread for every color. Yup, that easy. I LOVE them.


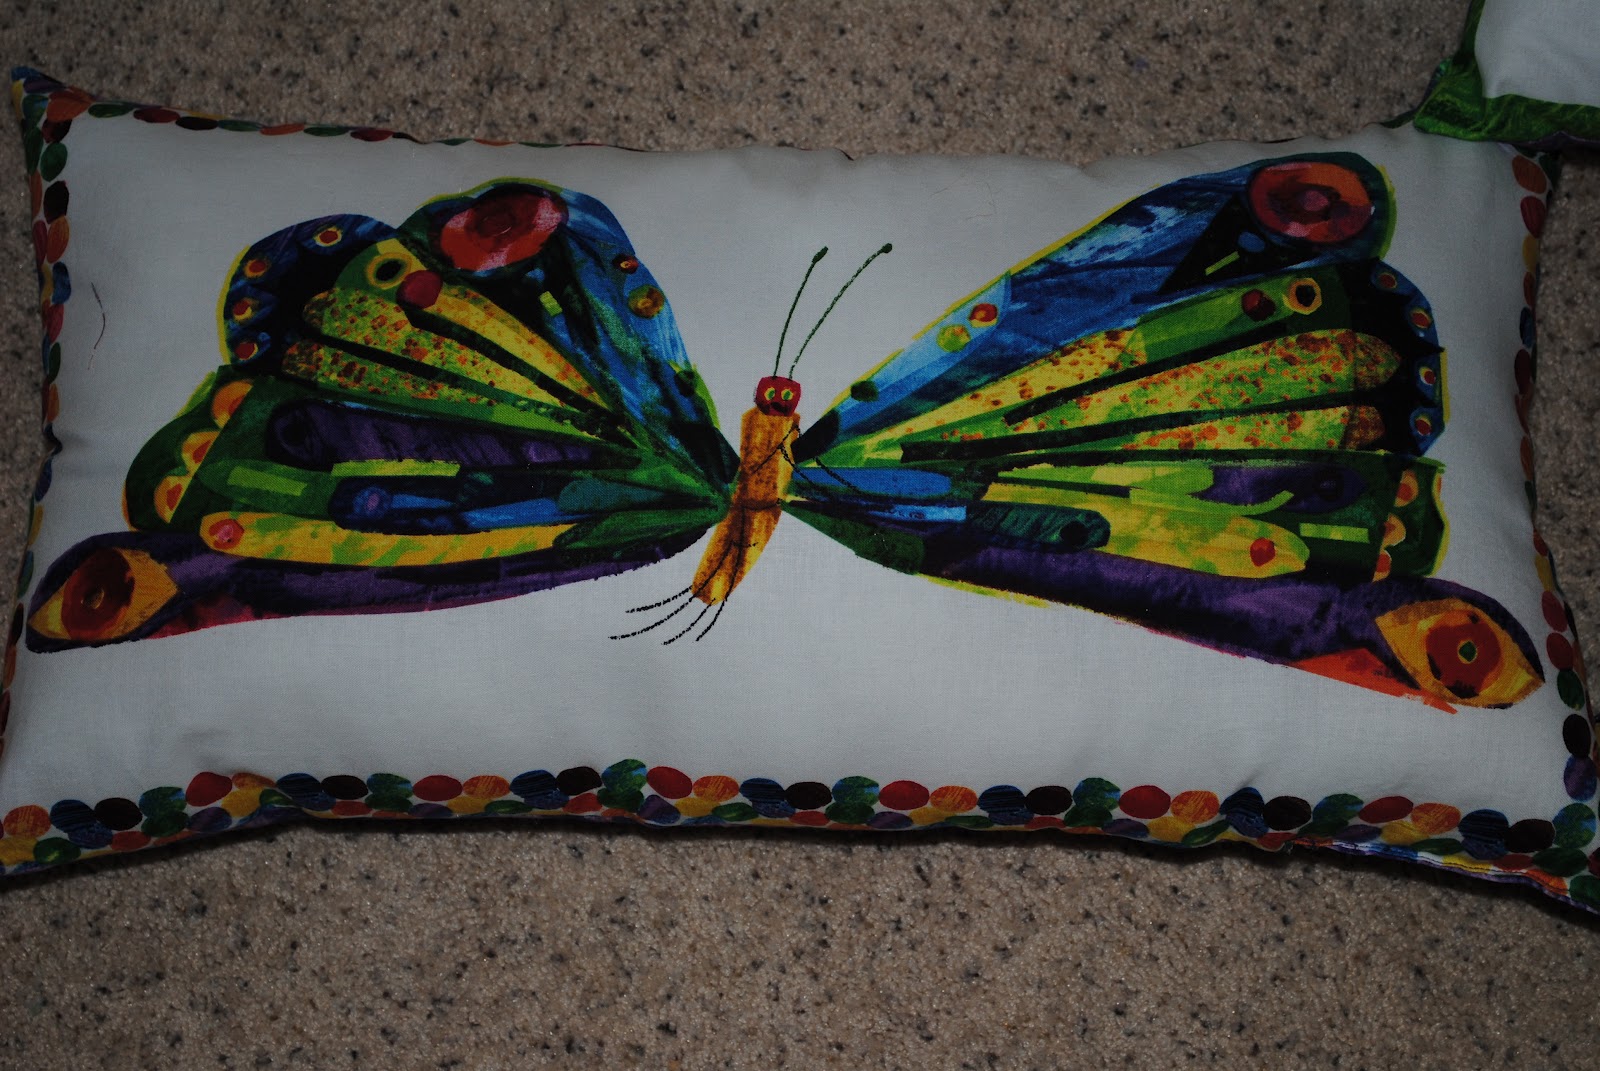
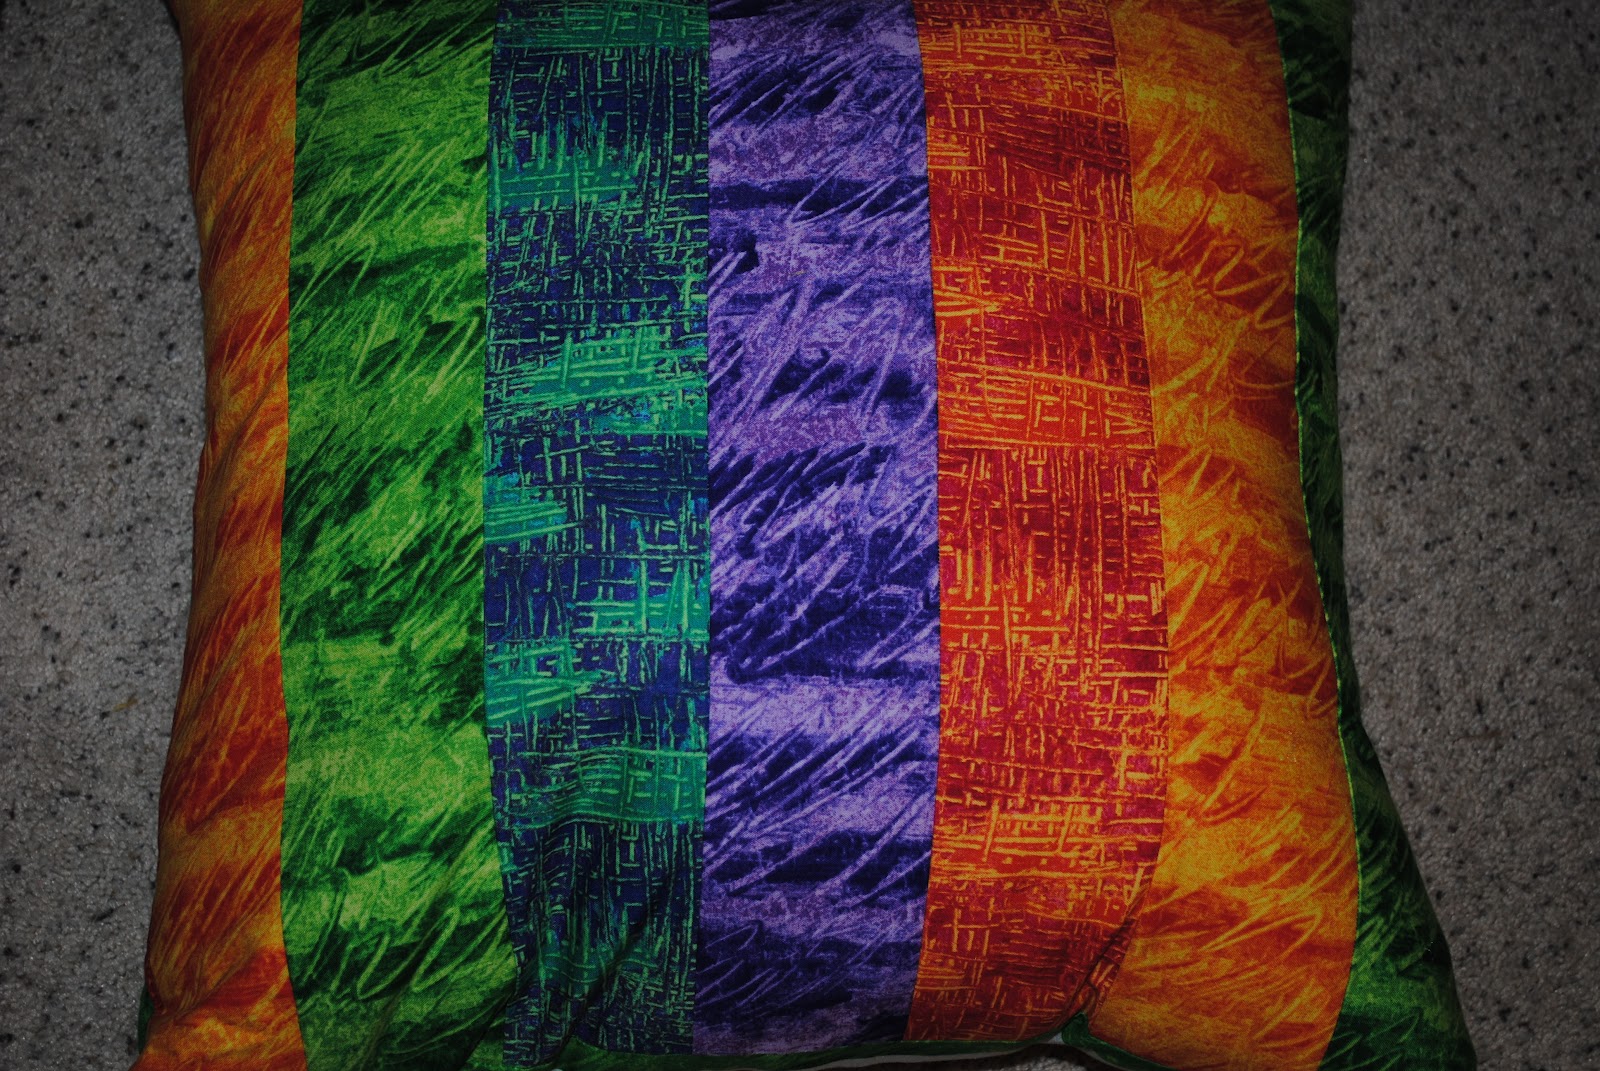
The Very Hungry Caterpillar Pillows


Monday, January 30, 2012
XOXO Subway Art

Saturday, January 28, 2012
Subway Art
Here are some pictures of the subway art I made for the nursery. I used my silhouette cameo to design the subway art and cut out the vinyl. The blocks are 12x12's. I went to Lowes and purchased a 36"x12" board and then I had a worker cut it down into thirds for me at the store. I sanded and painted the squares and then applied the vinyl. They were surprisingly easy to make and I am very happy with the results. I can't wait to get them hung in the nursery. I purchased my vinyl here for a totally affordable price. I used my little book of instructions that came with some supplies I purchased for my silhouette to aid me in the vinyl process. Since I'm lazy and don't prefer to do my own tutorials, I looked one up for anyone who is interested in making and applying their own vinyl and here is a decent one I found. You can also find tutorials on vinyl cutting and applying with the use of other machines such as Cricut or Quick Cutz (spelling?). I saw some while I was searching for the tutorial I placed on here. Anywho, I wanted to keep the theme going for the nursery, so in the true fashion of The Very Hungry Caterpillar, I made my art as a reference to a caterpillars life. Enjoy!


Friday, January 27, 2012
The Very Hungry Caterpillar crib teething pads


I have seen these done two ways. One with buttons and one with ties. I think the buttons look cuter, so that's what I did. If you're making some and want to use buttons, make sure you sew the fabric scraps that have the button holes in them on with the binding, not after you bind the pads. Also, make sure you place the button hole scraps in the right places, so that the crib railings don't block them from wraping around to the button. You'll have to make your own button holes sewn onto the scraps if this is what you choose to do. The measurements all depend upon the size of your crib and the thickness you want. Always remember to leave a seam allowance of at least 1/4" when cutting fabric for sewing. I quilted the pads together to give them a more professional feel. Alan was super impressed with the results! I think they turned out dang cute! If you want to make your own, go here for the tutorial. You'll notice I did some things differently from the original posting, so feel free to ask any quesitons if you have any!


Saturday, January 14, 2012
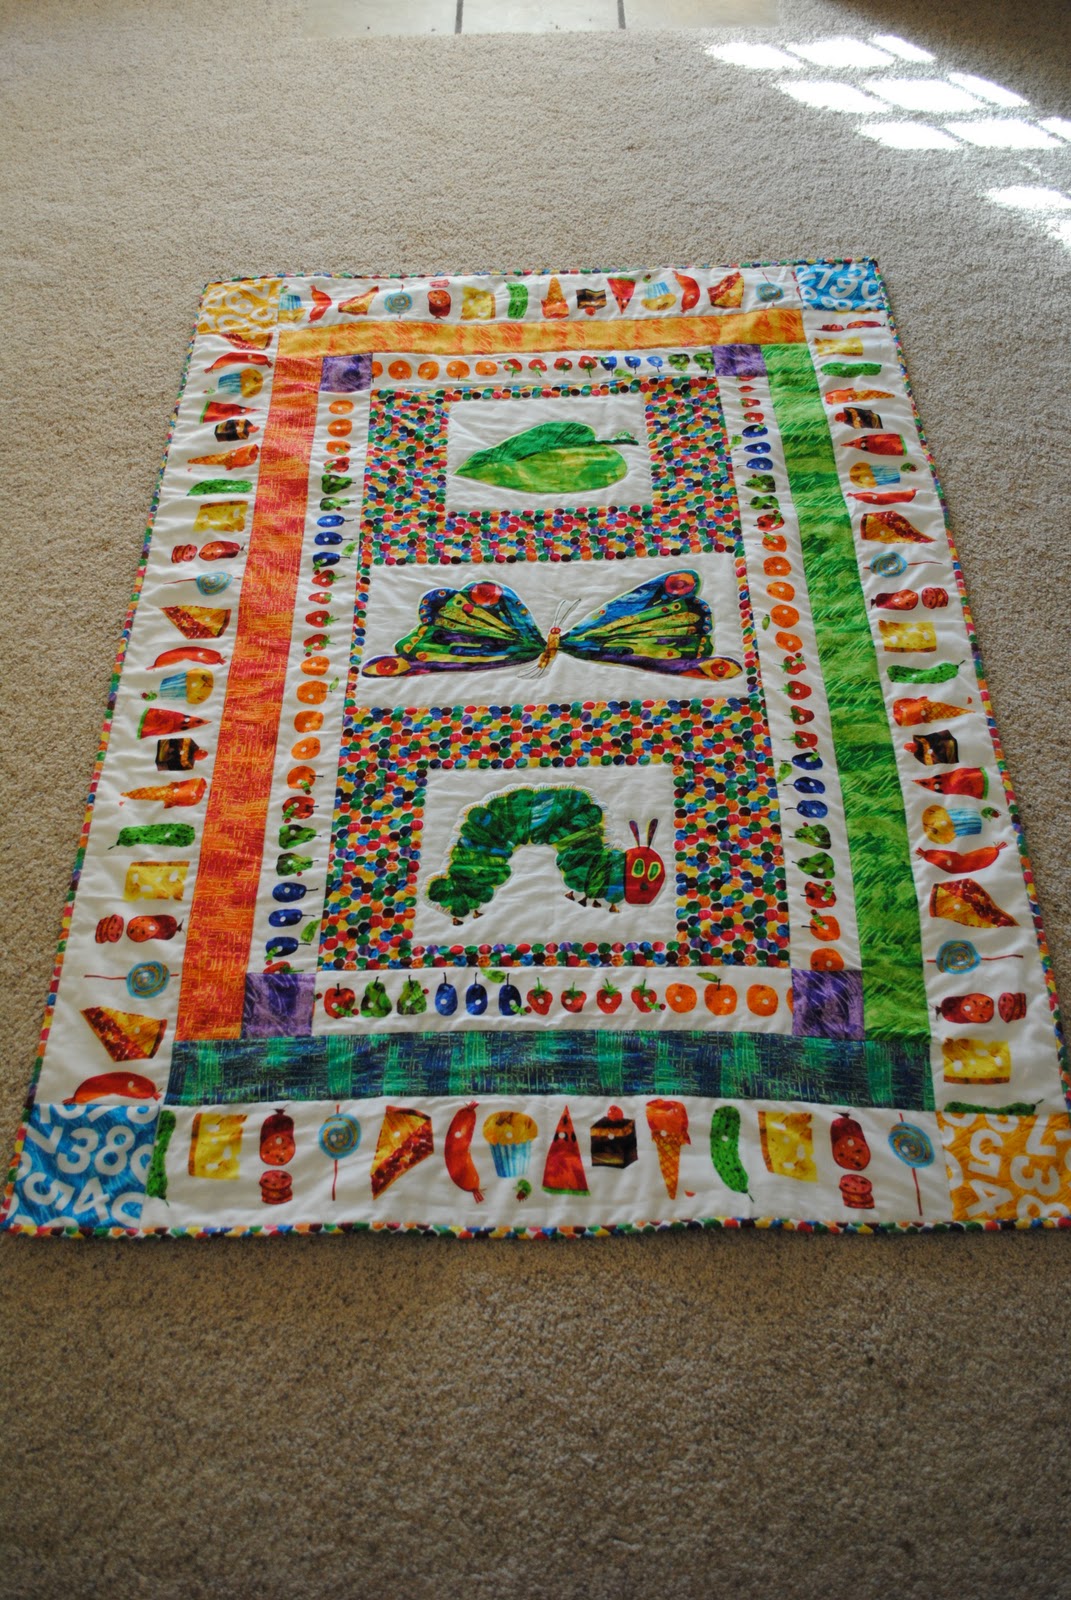
The Very Hungry Caterpillar


Preparing a blanket for machine quilting

Basting pins (giant safety pins)
Tape that is not super sticky (you don't want it to tear your fabric when removing it. (I used painters tape)
Basting Spray (optional)
My grandmother told me that the secret to a good machine quilting is basting spray. I bought some, but ended up not using it. My fabric naturally stuck very tightly together. It was strange, but it worked for me. Truns out pregnant women shouldn't use the spray anyway! (If you buy it and want to use it just follow the instructions on the can)


http://www.generations-quilt-patterns.com/machine-quilting-a-beginner-quilting-project.html

Subscribe to:
Comments (Atom)